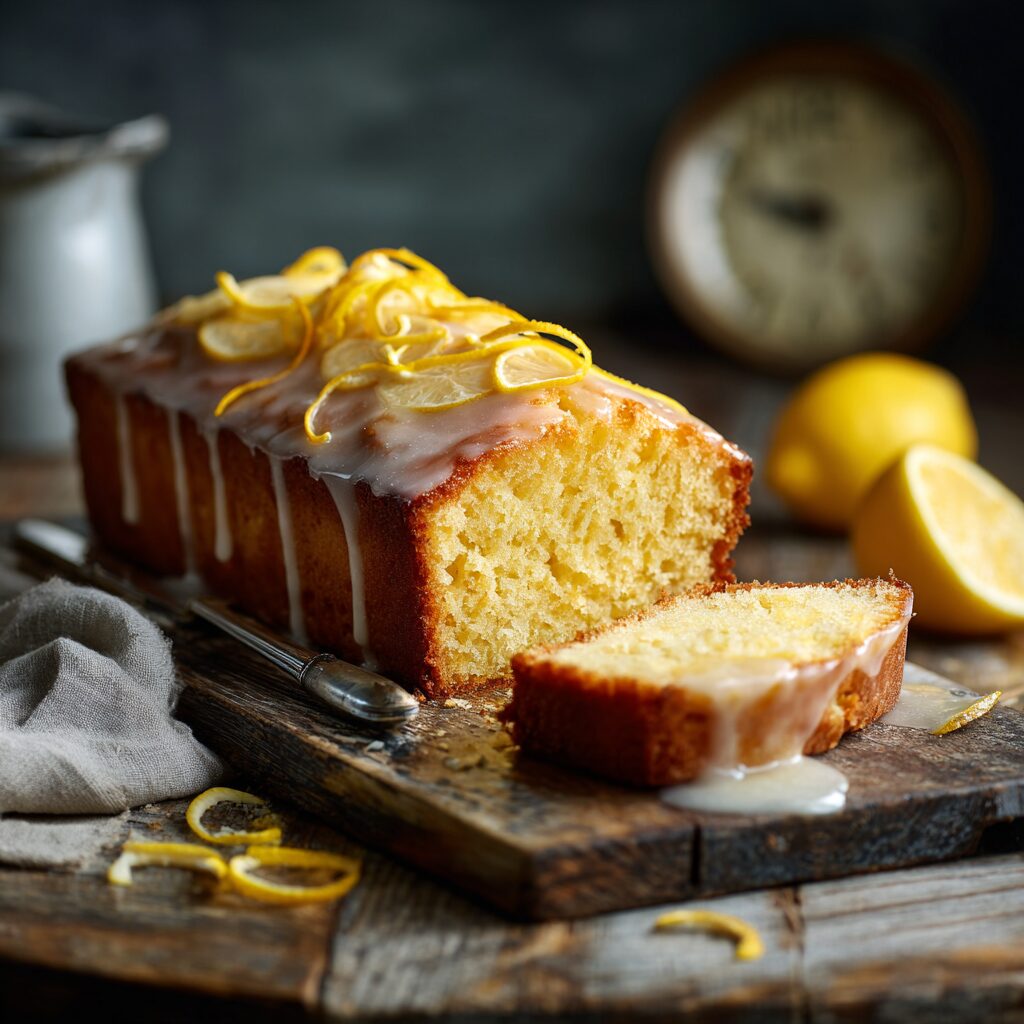
Why the 72-Hour Lemon Cake Is a Must-Try
The 72-hour lemon cake isn’t your average citrus dessert. Unlike traditional lemon cakes that are served shortly after baking, this recipe is designed to rest for three days. During that time, the cake’s flavor deepens, its crumb softens, and the lemon essence becomes more vibrant. As a result, every bite is rich, tender, and satisfyingly tangy.
What Makes This Moist Lemon Cake So Unique?
Most cakes are delicious straight from the oven. However, some become exceptional when given time to rest. The 72-hour lemon cake falls into that second category. Here’s why:
- First, the lemon syrup gradually seeps into the cake layers, infusing each bite with flavor.
- Then, moisture redistributes evenly, creating a balanced and soft texture.
- Finally, the acidity from the lemon mellows, resulting in a dessert that’s bright but not overpowering.
Therefore, this cake offers more depth, complexity, and elegance than your typical lemon dessert.
Ingredients for the Best 72-Hour Lemon Cake
For the Cake:
- 2 ½ cups all-purpose flour
- 2 ½ tsp baking powder
- ½ tsp baking soda
- ½ tsp salt
- 1 cup unsalted butter, softened
- 1 ¾ cups granulated sugar
- 4 large eggs
- 1 tsp vanilla extract
- ½ cup sour cream or Greek yogurt
- ½ cup whole milk
- Zest of 2 lemons
- ¼ cup fresh lemon juice
For the Lemon Syrup:
- ½ cup granulated sugar
- ½ cup fresh lemon juice
For the Lemon Glaze:
- 1 ½ cups powdered sugar
- 2–3 tbsp fresh lemon juice
Optional Garnishes: Lemon zest, candied lemon slices, fresh berries, or mint leaves
How to Make the 72-Hour Lemon Cake – Step-by-Step Instructions
Step 1: Prep Your Pans
To begin, preheat your oven to 350°F (175°C). Then, grease and flour two 8-inch round cake pans or line them with parchment paper for easy removal.
Step 2: Mix Dry Ingredients
In a medium bowl, whisk together the flour, baking powder, baking soda, and salt. After that, set the mixture aside.
Step 3: Cream Butter & Sugar
In a large bowl, beat the softened butter and granulated sugar until light and fluffy. Typically, this takes about 3–5 minutes.
Step 4: Add Eggs and Vanilla
Next, add the eggs one at a time, making sure to beat well after each addition. Then, stir in the vanilla extract.
Step 5: Combine Wet Ingredients
Meanwhile, in another bowl, mix together the sour cream (or Greek yogurt), milk, lemon zest, and lemon juice until smooth.
Step 6: Blend Wet and Dry Ingredients
Now, alternately add the dry ingredients and the lemon mixture to the butter mixture. Always begin and end with the dry mix. Be careful not to overmix, as this can lead to a dense texture.
Step 7: Bake the Cake
Pour the batter evenly into the prepared pans and smooth the tops. Bake for 30–35 minutes, or until a toothpick inserted into the center comes out clean.
Step 8: Prepare the Lemon Syrup
While the cakes are baking, make the lemon syrup. In a small saucepan, heat the lemon juice and sugar over medium heat. Stir continuously until the sugar has dissolved completely. Afterward, remove from heat and let it cool.
Step 9: Cool the Cakes
Once the cakes are done baking, let them cool in the pans for about 10 minutes. Then, transfer them to a wire rack to cool further.
Step 10: Add Lemon Syrup
While the cakes are still warm, poke small holes across the top with a fork or skewer. Generously brush the lemon syrup over the surface. This will enhance both the flavor and the moisture level of the cake.
Step 11: Refrigerate for 72 Hours
Once the cakes have completely cooled, wrap each layer tightly in plastic wrap. Place them in the refrigerator for 72 hours. During this time, the flavor will deepen, and the texture will become even more tender.
Step 12: Make the Lemon Glaze
When you’re ready to serve the cake, whisk together the powdered sugar and lemon juice until smooth. You can adjust the consistency by adding a bit more sugar or juice as needed.
Step 13: Assemble the Cake
Start by placing one layer on a serving plate. Spread a generous layer of glaze on top. Then, place the second layer over it and pour the remaining glaze, letting it drip down the sides naturally.
Step 14: Garnish
For a stunning finish, garnish with lemon zest, candied lemon slices, berries, or mint leaves.
Step 15: Serve
Finally, allow the cake to come to room temperature before slicing. This enhances both the flavor and texture of each piece.
Why Resting the Cake for 72 Hours Is Worth It
You might wonder why it’s necessary to wait three days before enjoying this dessert. Here’s why it matters:
- During refrigeration, the lemon syrup is fully absorbed into the crumb.
- At the same time, fats and starches have time to bond, improving texture.
- Moreover, acidity levels smooth out, producing a more refined and less sharp flavor.
As a result, each bite becomes more flavorful, more balanced, and more enjoyable than if the cake were served immediately.
Pro Tips for Best Results
To ensure your cake turns out perfectly:
- Always use fresh lemons—bottled juice won’t give the same brightness.
- Allow ingredients to reach room temperature for better mixing.
- Mix gently to avoid a tough crumb.
- Don’t skip the lemon syrup—it’s essential for both moisture and flavor.
- Wrap the cake tightly to prevent it from drying out in the fridge.
- Let the cake rest at room temperature before serving for the best mouthfeel.
Delicious Variations & Creative Serving Ideas
You can customize this cake in many ways:
- Add a layer of lemon curd or cream cheese frosting for richness.
- Include poppy seeds for extra texture and visual interest.
- Use a Bundt pan for a more elegant presentation.
- Serve with a side of whipped cream or fresh berries to complement the lemon flavor.
- If you prefer a lighter finish, simply dust the cake with powdered sugar instead of glaze.
How to Store 72-Hour Lemon Cake
Proper storage helps maintain its quality:
- Refrigerator: Store in an airtight container for up to 5 days.
- Freezer: Wrap tightly in plastic wrap and foil. Freeze for up to 2 months.
- To Serve Again: Thaw overnight in the fridge, then let it sit at room temperature before enjoying.
Final Thoughts: A Lemon Cake That’s Worth the Wait
The 72-hour lemon cake is more than just a dessert—it’s a baking experience. By allowing the cake to rest, you unlock its full potential. Not only does it become more flavorful, but the texture also becomes richer and more refined.
Whether you’re planning a birthday party, hosting afternoon tea, or simply treating yourself, this cake is sure to impress. So take your time, follow the steps, and enjoy the incredible rewards of this make-ahead masterpiece.